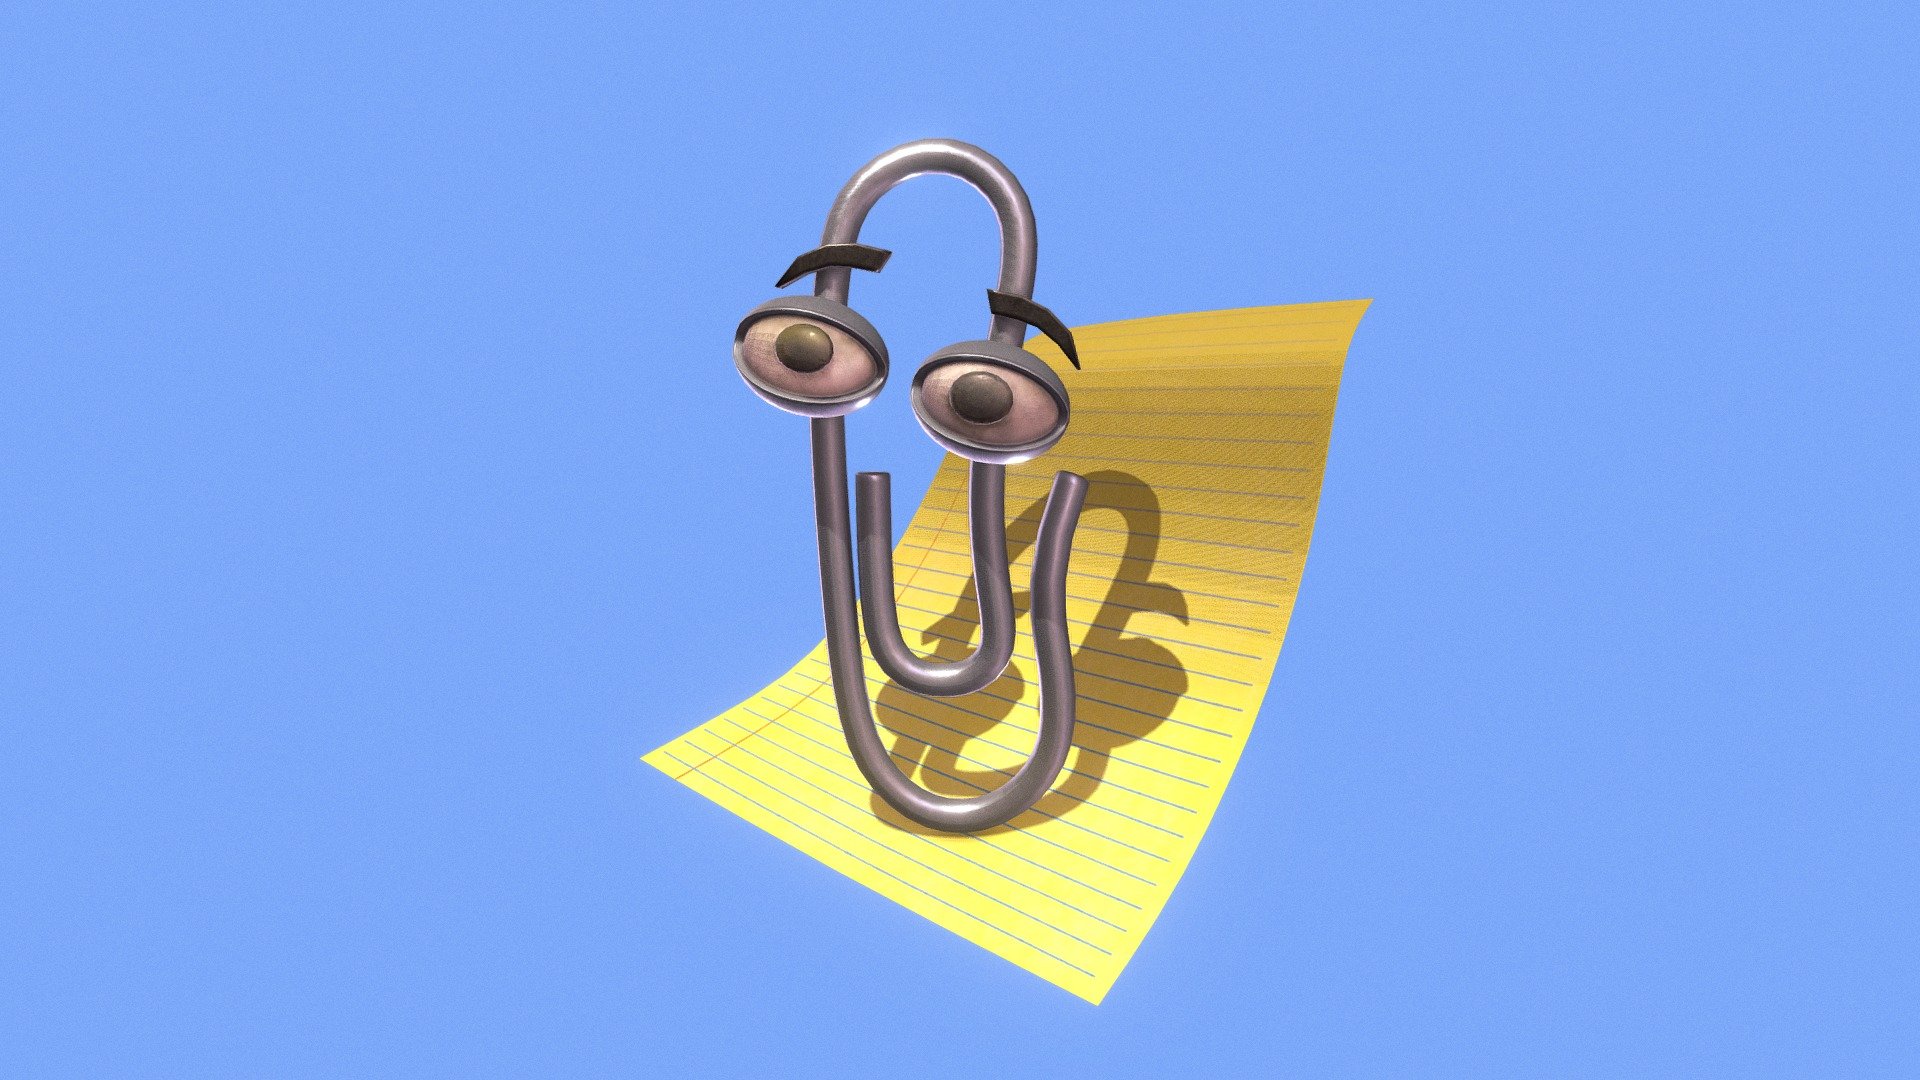
In this new post, I introduce you my new Clippy Blazor component for Blazor WebAssembly and Blazor Server. The component is built with .NET6.
Some useful link:
Who is Clippy?
Do you remember Clippy? If the answer is no, please go away!
This is a component for Blazor WebAssembly and Blazor Server. The components is build with .NET6.
The demo application is available here.
Clippy is an Office assistant that helped users when they were using any of the Microsoft Office applications. Clippy’s role was to communicate with users and give corresponding actions. The original name was Clippit, but it was later nicknamed “Clippy”.
The name came as a result of its resemblance to a paperclip. It was one of the notable assistants that helped users when using any MS applications. Unfortunately, Clippy got some negative feedback from certain users that led to its removal in later Microsoft Office applications versions.
Clippy is a paperclip that was created by Kevan J. Atterberry. It was made to create a social interface to make it easier for people to understand the computer.
Generally, the idea behind Clippy was to assist users in understanding how to use the operating system. Thereby, users could access certain features on Microsoft programs and applications quickly.
The Clippy used a series of Bayesian algorithms to determine the users’ needs. In a big way, it also helped in typing cues, autoformat, and other features. However, people later complained that it was intrusive ad annoying, which led to its removal.
Add Clippy library
In your Blazor project, add the Clippy package from Nuget. In the Import.razor add the reference to the package
@using PSC.Blazor.Components.Clippy
Then, you have to add the Clippy service to your project. In your Program.cs, add the following line
using PSC.Blazor.Components.Clippy
...
builder.Services.AddScoped<ClippyService>();
before
await builder.Build().RunAsync();
Add scripts
Now, you have to add the CSS style and the scripts for Clippy. Go to your index.html under wwwroot. In the HEAD section, add the folloing line
<link rel="stylesheet" type="text/css" href="_content/PSC.Blazor.Components.Clippy/clippy.css" media="all">
Then, at the bottom of the page before closing the tag BODY add the following scripts:
<script src="_content/PSC.Blazor.Components.Clippy/clippy.min.js"></script>
<script src="_content/PSC.Blazor.Components.Clippy/clippyInterop.js"></script>
If your application doesn’t have jQuery, you have to add this line
<script src="_content/PSC.Blazor.Components.Clippy/jquery.slim.min.js"></script>
Use Clippy
To use Clippy in a Razor page, inject ClippyService in the page adding this code in the @code section
[Inject]
public ClippyService clippy { get; set; }
or at the top of the page
@inject ClippyService clippy
Now, you can use clippy service in the page. To load an agent, use this code
await clippy.Load(agentName);
agentName is one of the following from the enum AgentName
- Bonzi
- Clippy (default)
- F1
- Genie
- Genius
- Links
- Merlin
- Peedy
- Rocky
- Rover

Clippy functions
| Name | Parameters | Return | Description |
|---|---|---|---|
| AnimateRandom | Play an randon animation for the list | ||
| GestureAt | int x, int y | The agent points in the direction of the x and y | |
| GetAnimationsList | List<string> | List of animation for an agent | |
| Hide | Hide and dispose the agent | ||
| Load | AgentName agentName | Load an agent. By default the agent is Clippy. Select another agent using the enum AgentName | |
| PlayAnimation | ClippyAnimations animation | Play one of the animation for the agent. Choose from the enum ClippyAnimations. See below the list of available animations | |
| Speak | string text | Show the text in the baloon | |
| Stop | Stop all actions in the queue and go back to idle mode | ||
| StopCurrent | Stop the current action in the queue |
Animation list
- Congratulate
- LookRight
- SendMail
- Thinking
- Explain
- IdleRopePile
- IdleAtom
- Hide
- GetAttention
- Save
- GetTechy
- GestureUp
- Idle1_1
- Processing
- Alert
- LookUpRight
- IdleSideToSide
- GoodBye
- LookLeft
- IdleHeadScratch
- LookUpLeft
- CheckingSomething
- Hearing_1
- GetWizardy
- IdleFingerTap
- GestureLeft
- Wave
- GestureRight
- Writing
- IdleSnooze
- LookDownRight
- GetArtsy
- Show
- LookDown
- Searching
- EmptyTrash
- Greeting
- LookUp
- GestureDown
- RestPose
- IdleEyeBrowRaise
- LookDownLeft
Example
await clippy.Load(AgentName.Clippy);
await clippy.PlayAnimation(ClippyAnimations.GetAttention);
await clippy.Speak("Hello Blazor! Do you like it?");
await clippy.Speak("I can help your users. You know I can do that :)");
await clippy.PlayAnimation(ClippyAnimations.CheckingSomething);
await clippy.Speak("I helped whole generation of people with PC :)");
await clippy.PlayAnimation(ClippyAnimations.GoodBye);
Screenshot demo
The demo application shows all the functionalities offer from the component. Select an agent from the list and then click Load.

Here the list of agents available.


